
SlicerX sends a print to printers on your local network: Bambu Lab in LAN mode, Klipper printers through Moonraker, Creality, Snapmaker, PrusaLink, OctoPrint, Duet and the Elegoo Centauri Carbon. No printer connection? Export G-code in Preview saves the file for a USB stick or SD card instead.
Send it
Open the Print sheet.
In Preview, press Print on and your printer's name. It prints on the printer chosen in Model; Change under Printer there picks another. The sheet shows the print time, filament and layers, and checks the file against the printer while it is open. "Checked against" and the printer's name means it passed.
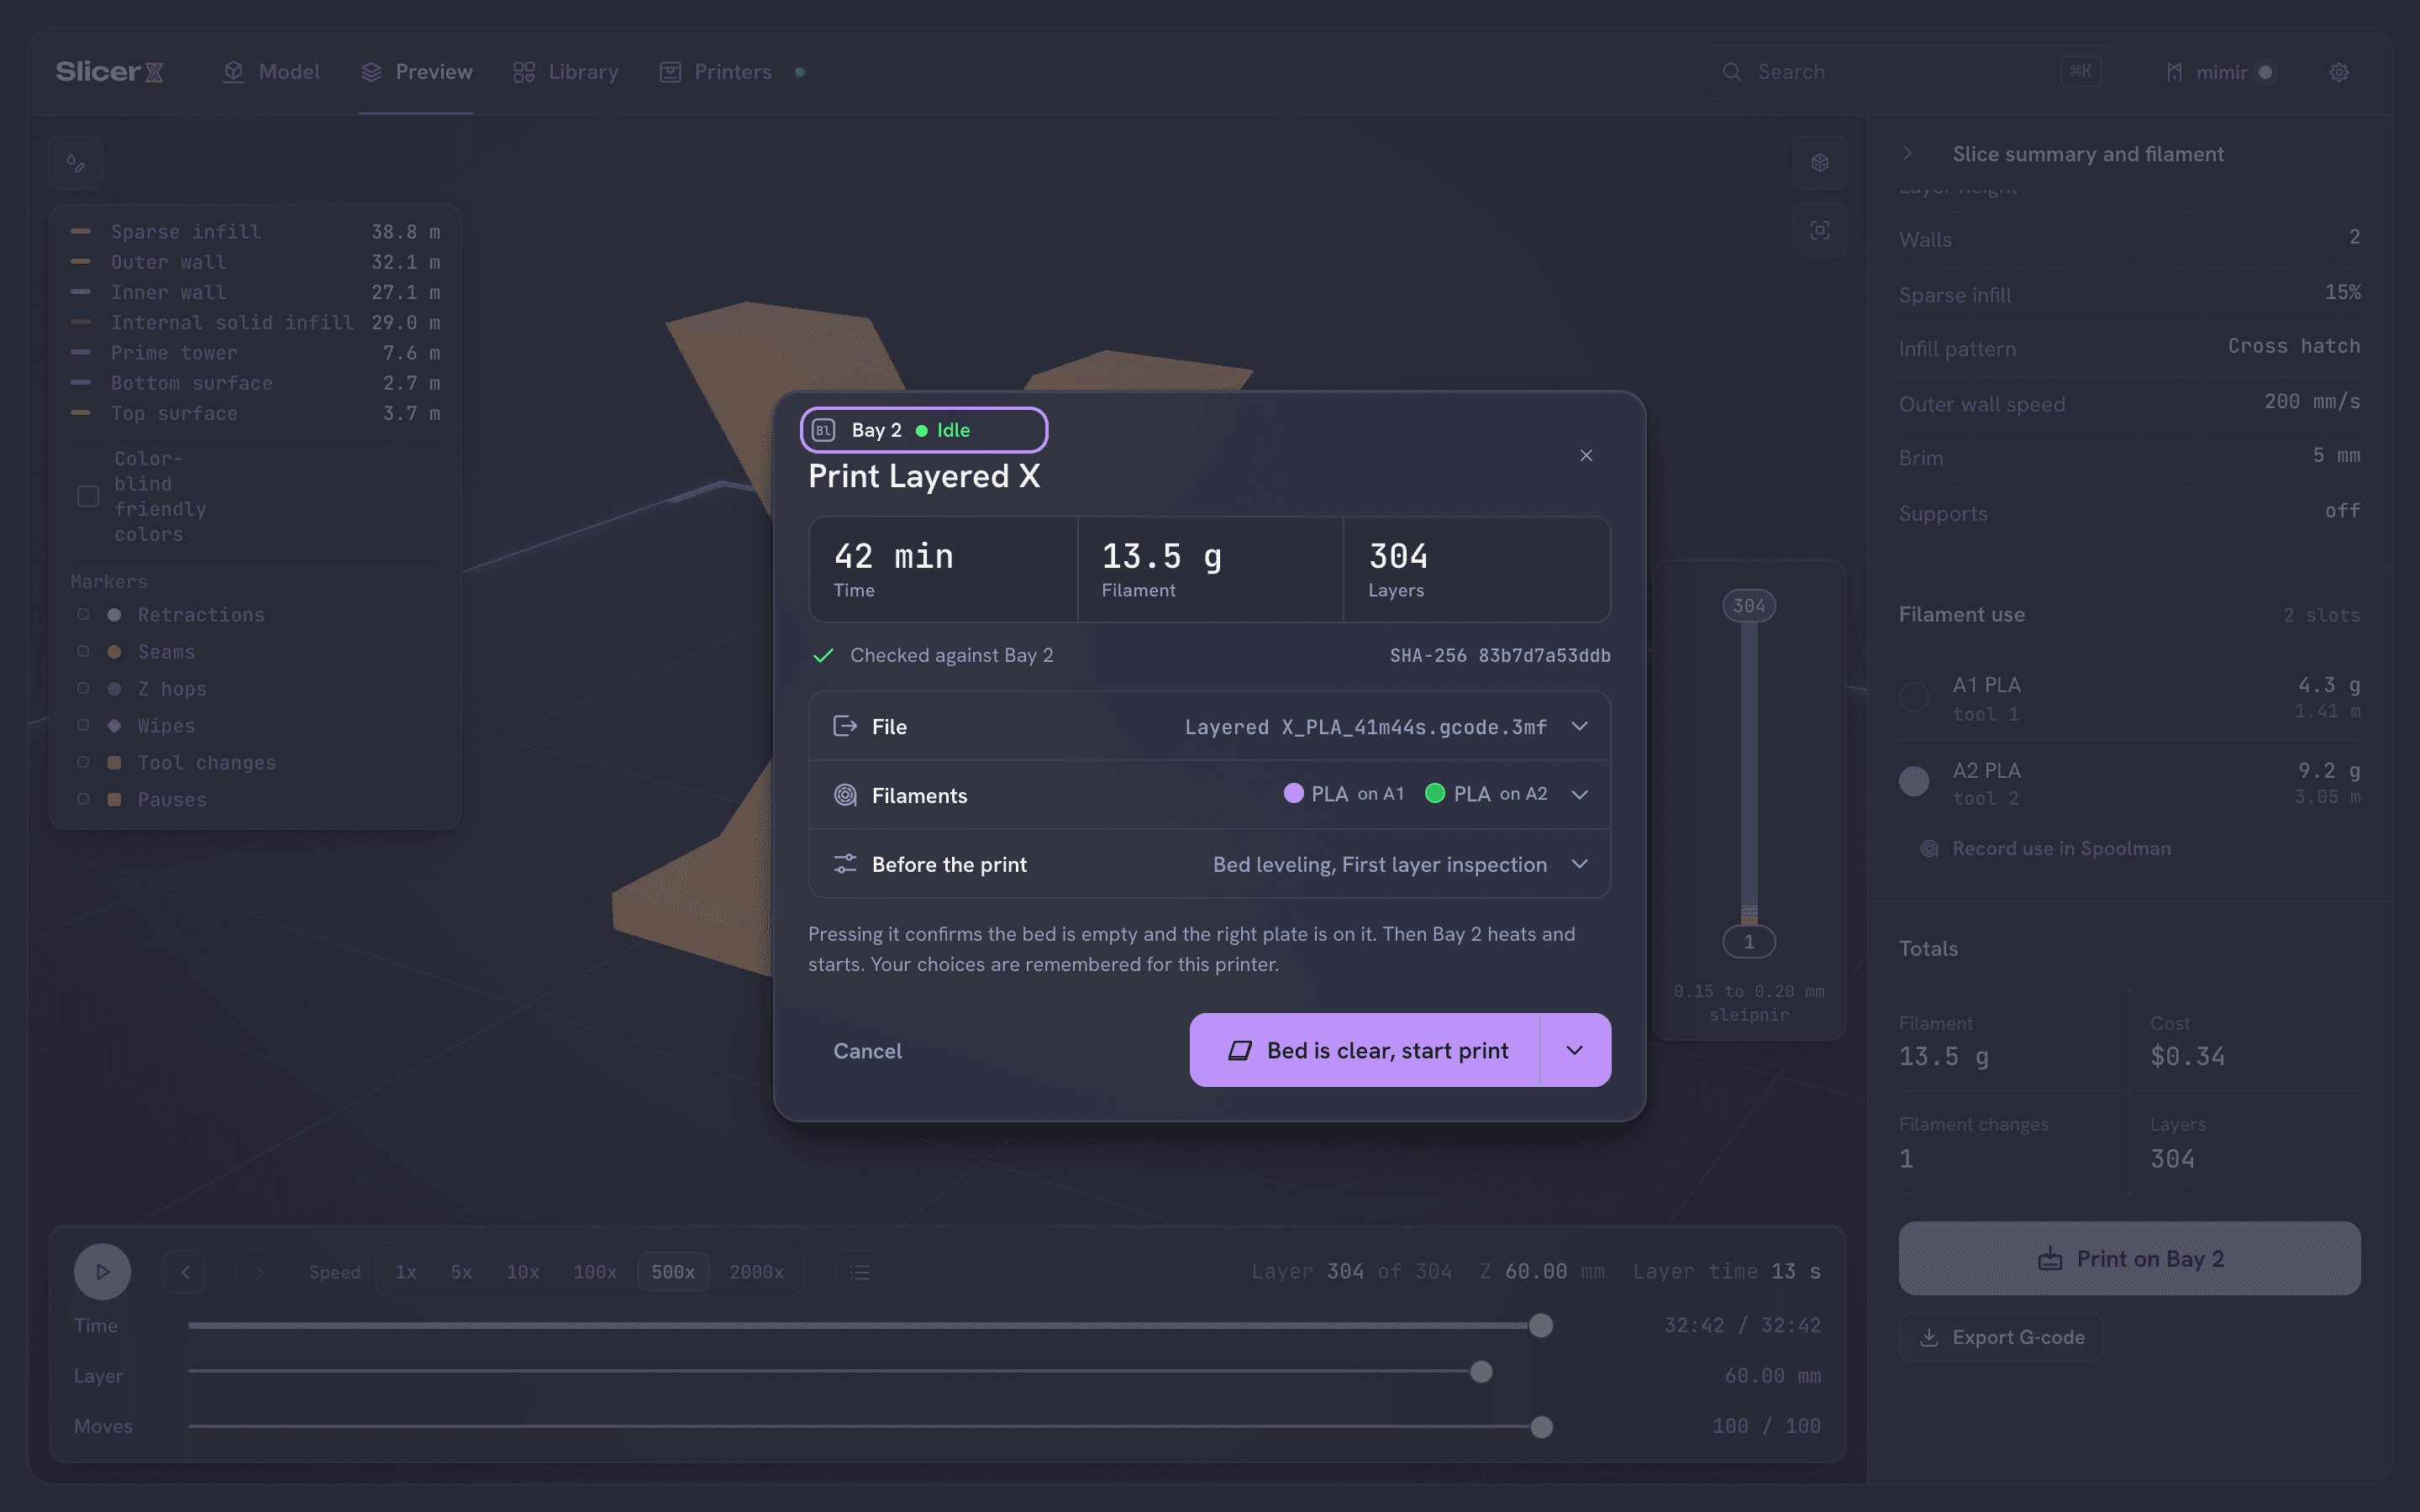
The Print sheet checks the file against your printer before anything is sent. Match the filaments.
On a printer with a filament unit, such as a Bambu Lab AMS, Filaments lists each filament the plate uses and the slot it prints from. Change any slot from its list, or choose External spool. If no loaded slot has the right filament, or two filaments point at the same slot, the sheet says so and waits until you pick.
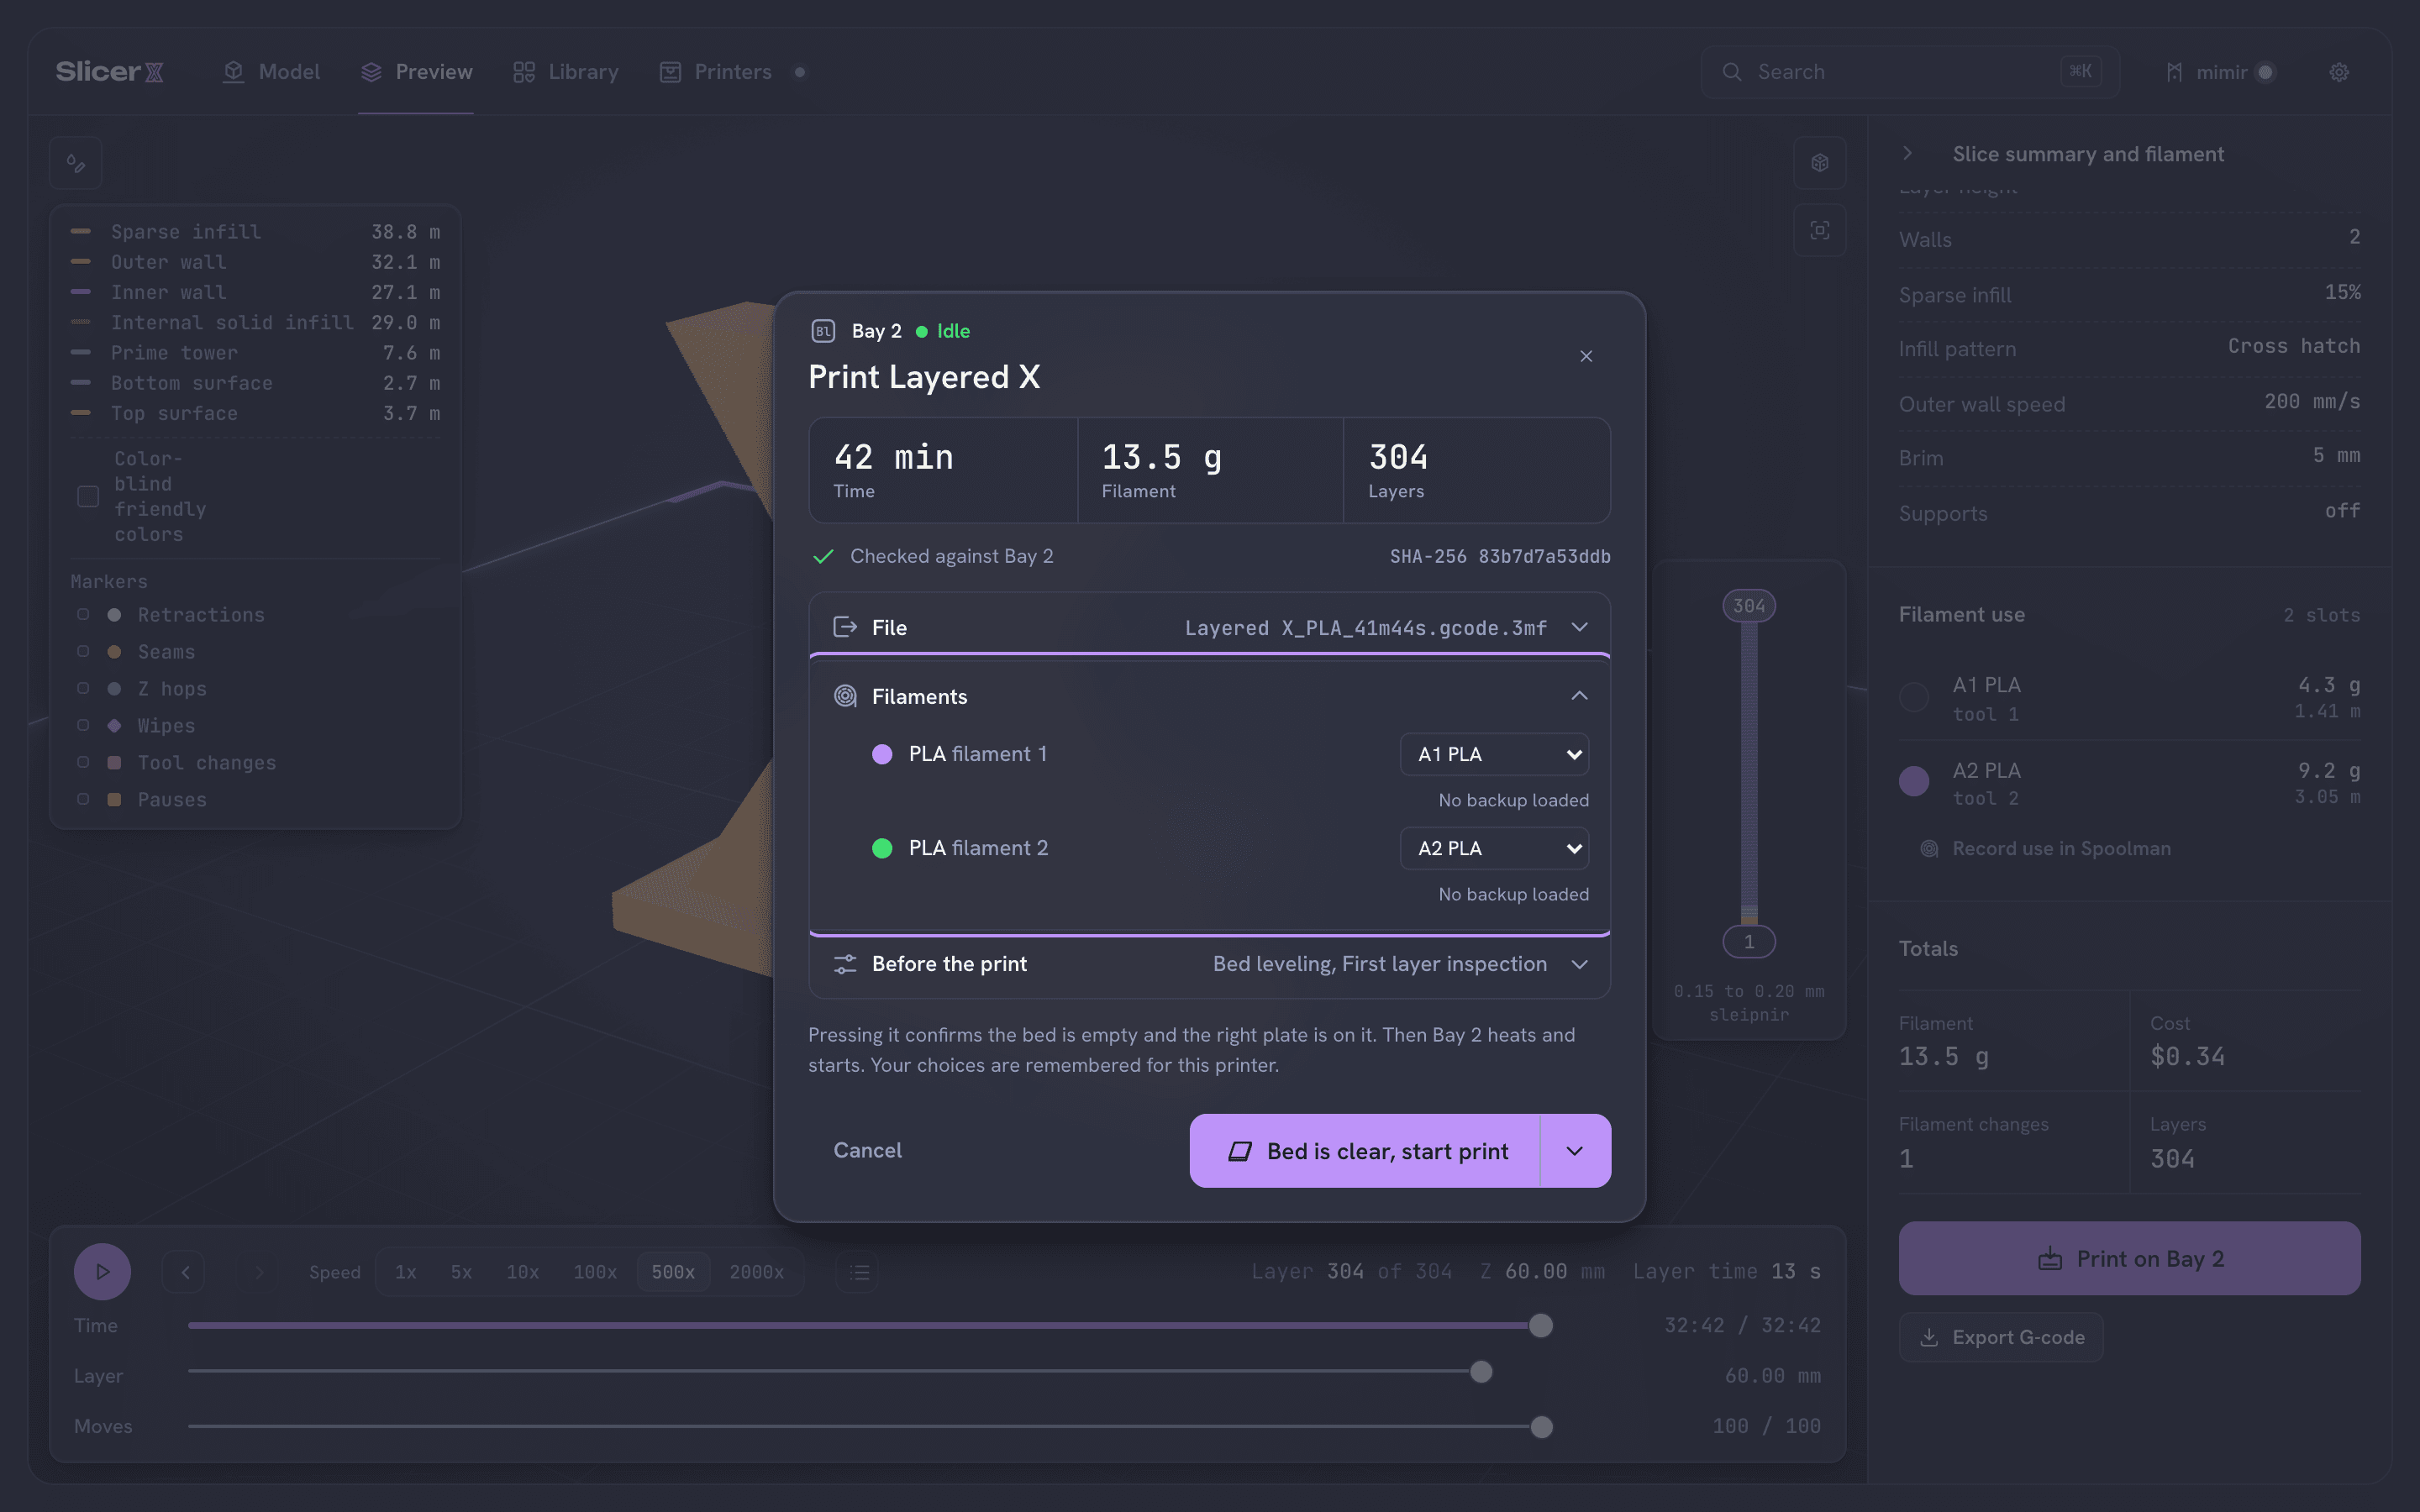
Each filament on the plate, and the slot it prints from. Before the print has the printer's own options, such as Bed leveling, Flow calibration and Timelapse, where your printer offers them. SlicerX remembers your choices for each printer.
Confirm the bed is clear.
The start button reads Bed is clear, start print. Pressing it is your word that the bed is empty and the right build plate is on it, and only then does the printer heat up and start. When the printer itself reports a clear bed, the button reads Start print.
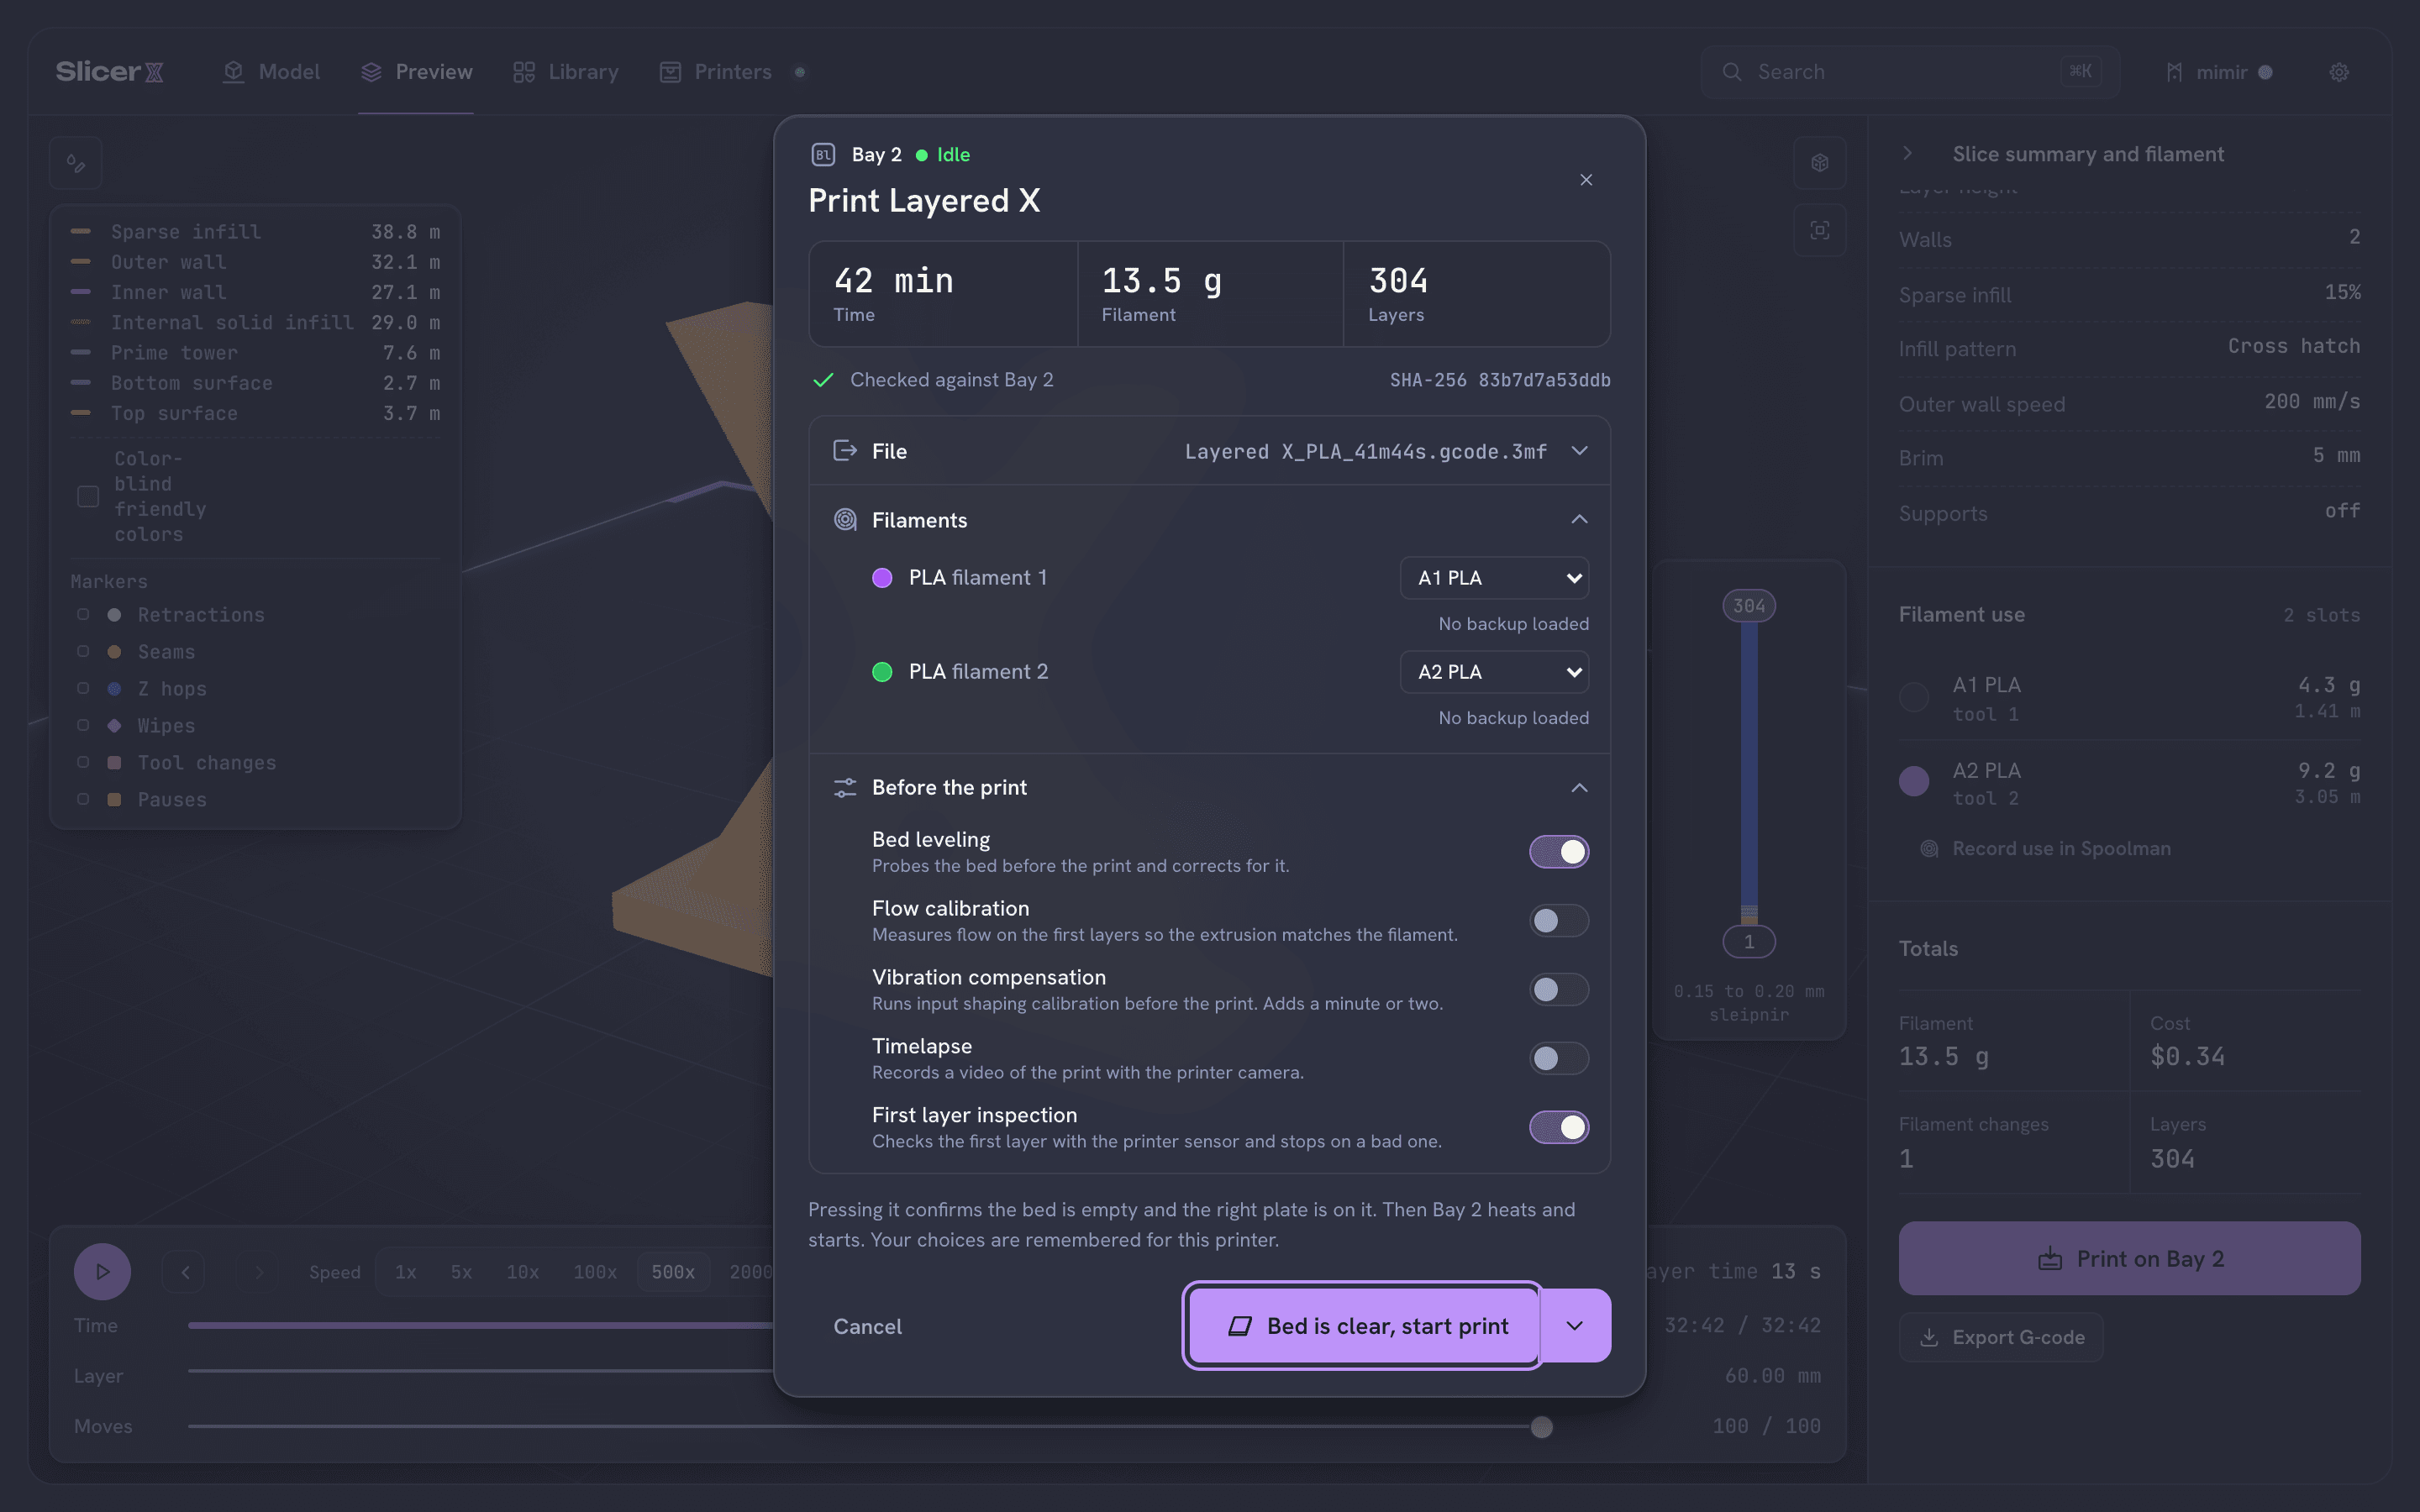
Nothing moves until you confirm the bed. The arrow beside the button has More ways to send: Upload only puts the file on the printer without starting it, and Queue for later adds it to the queue, where it asks again before it starts.
Watch it print.
SlicerX confirms the start, and the Printers tab shows the printer's progress.
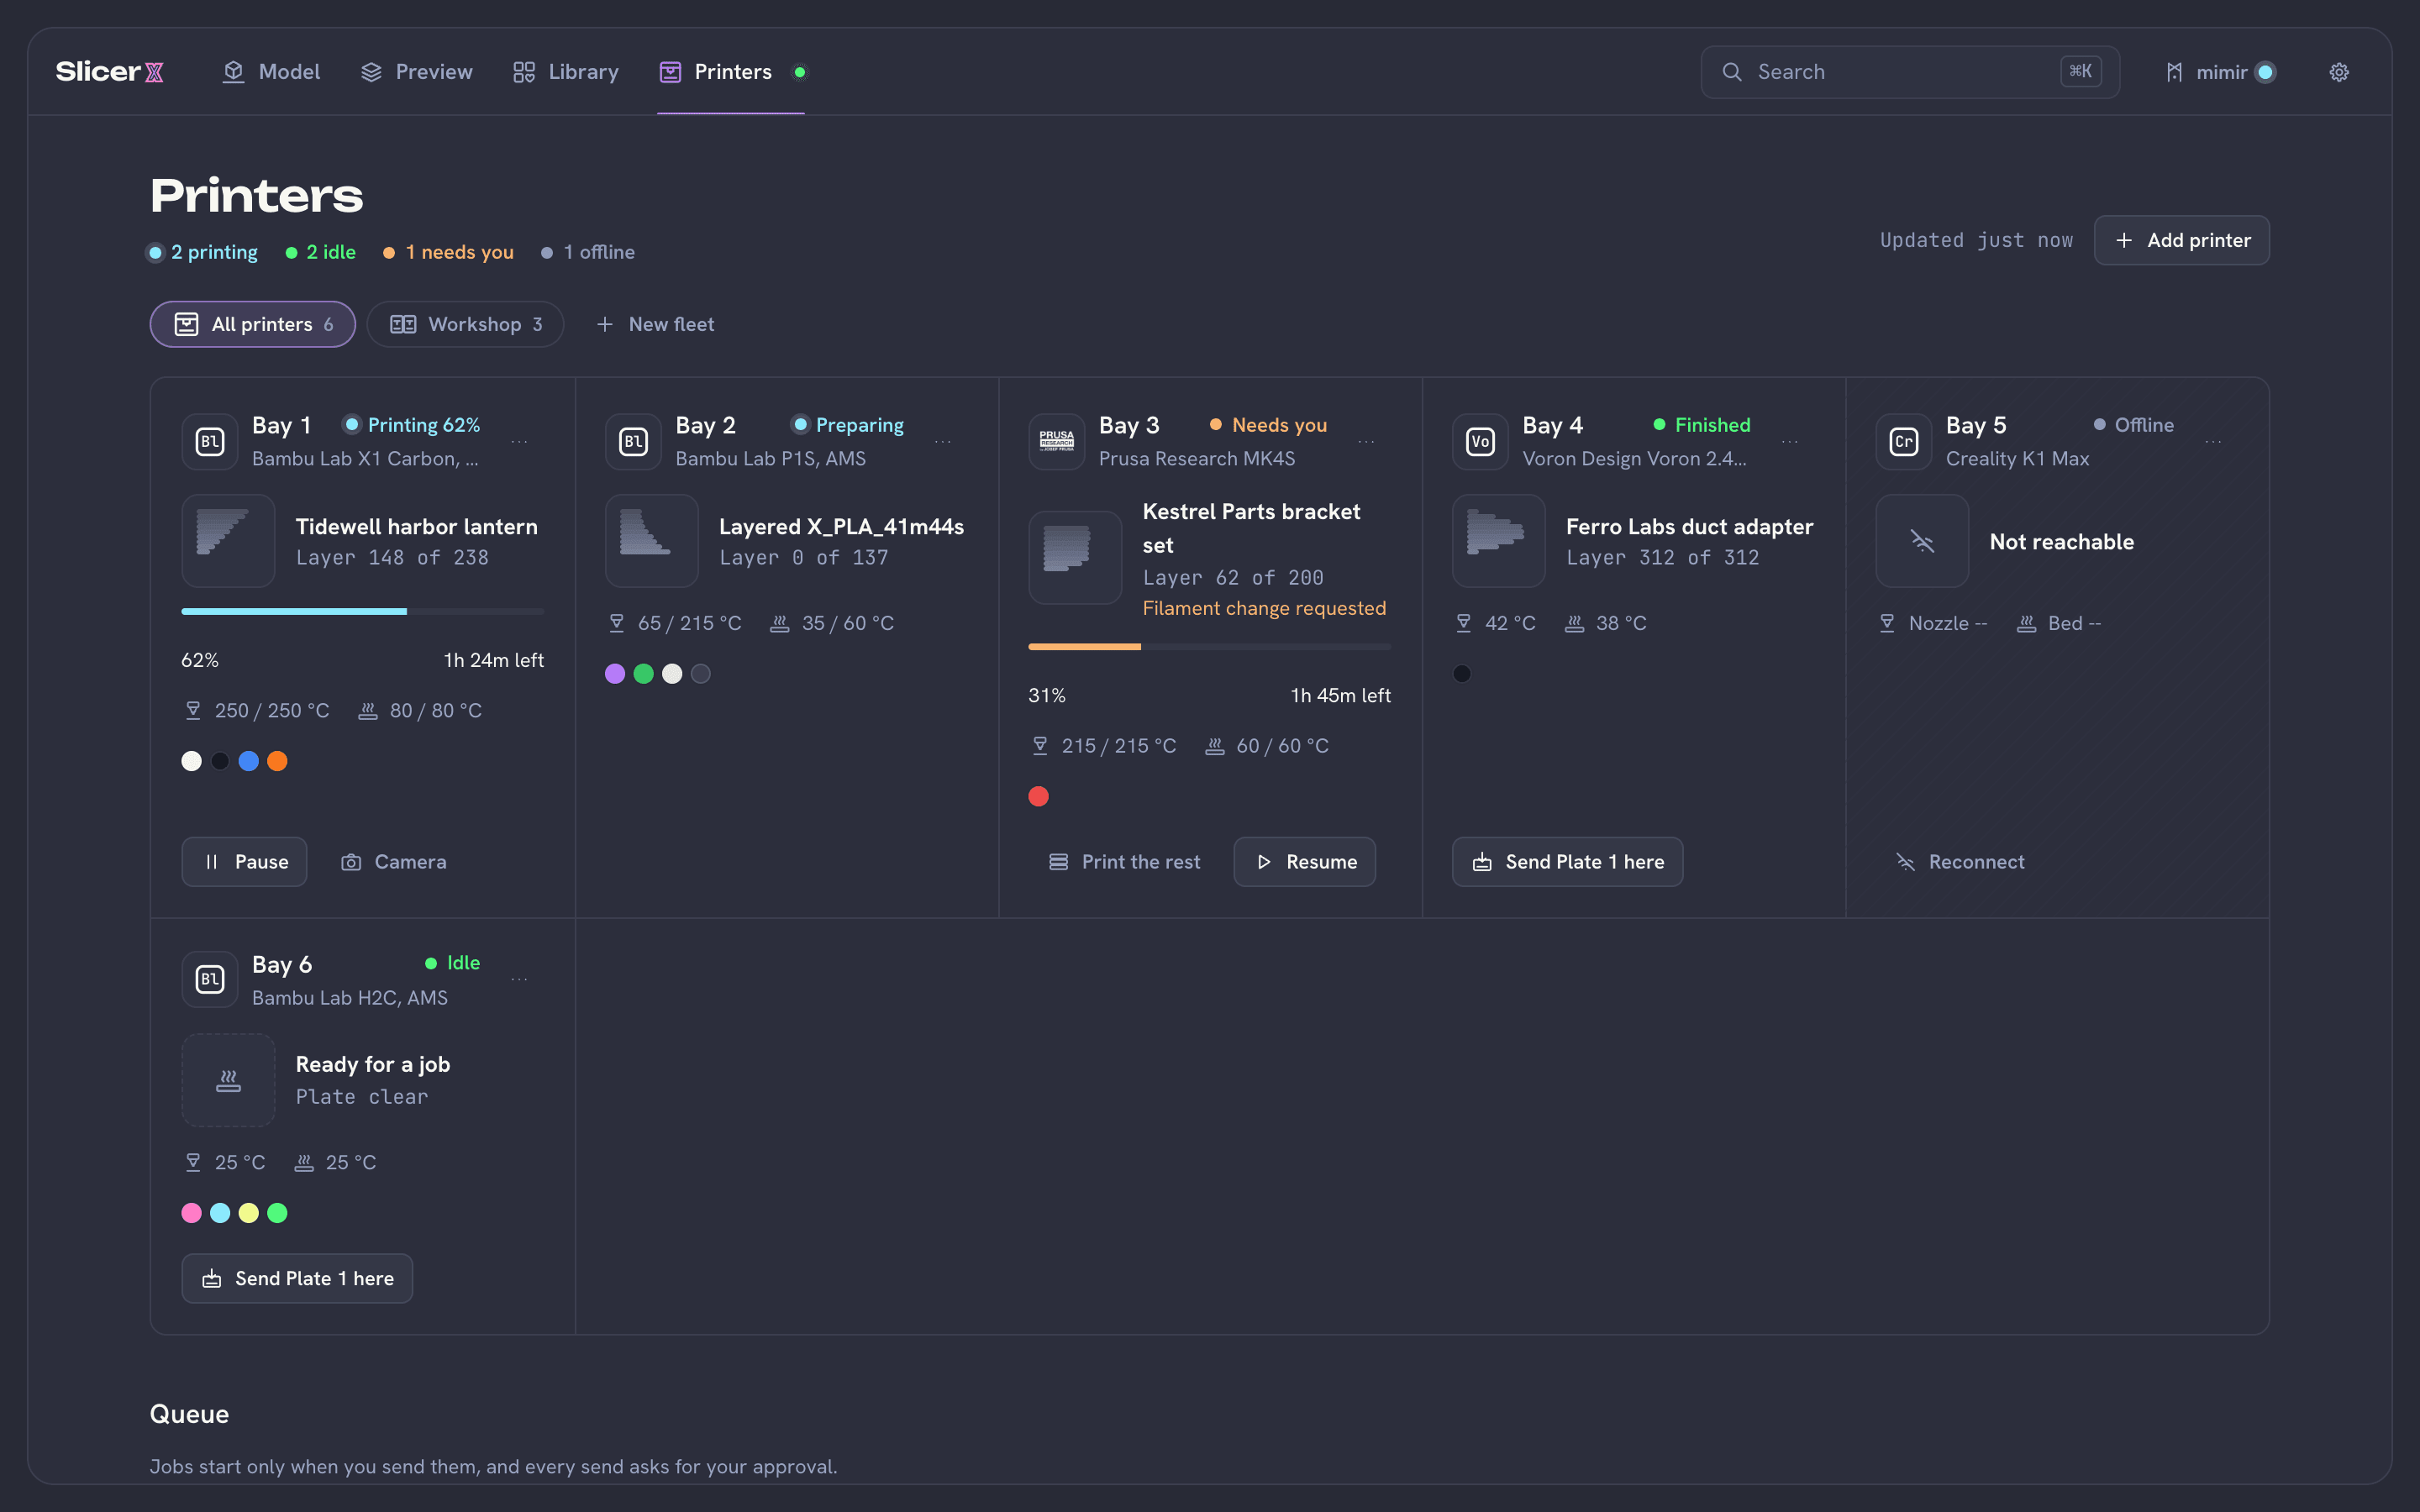
The print running, on the Printers tab.
If something is wrong
The sheet lists problems before anything is sent. "Not sent. Fix this first" means the print cannot go yet, and the line under it says why. "Check before you start" lists things worth a look, such as a filament that does not match what is loaded.