
Slicing turns the plate into toolpaths: every line the nozzle will draw, layer by layer. Preview shows them before any plastic is spent, so you can catch a problem on screen instead of on the bed.
Slice and look
Open Preview.
SlicerX slices in the background after every change, so the toolpaths are usually ready: the Estimate in Model says "From slice" when they are current. Open the Preview tab to see them. Slicing runs on your computer. If you turn off Slice automatically (Settings, Look and feel, Slicing), press Slice plate, or Cmd+Enter, when you want a slice.
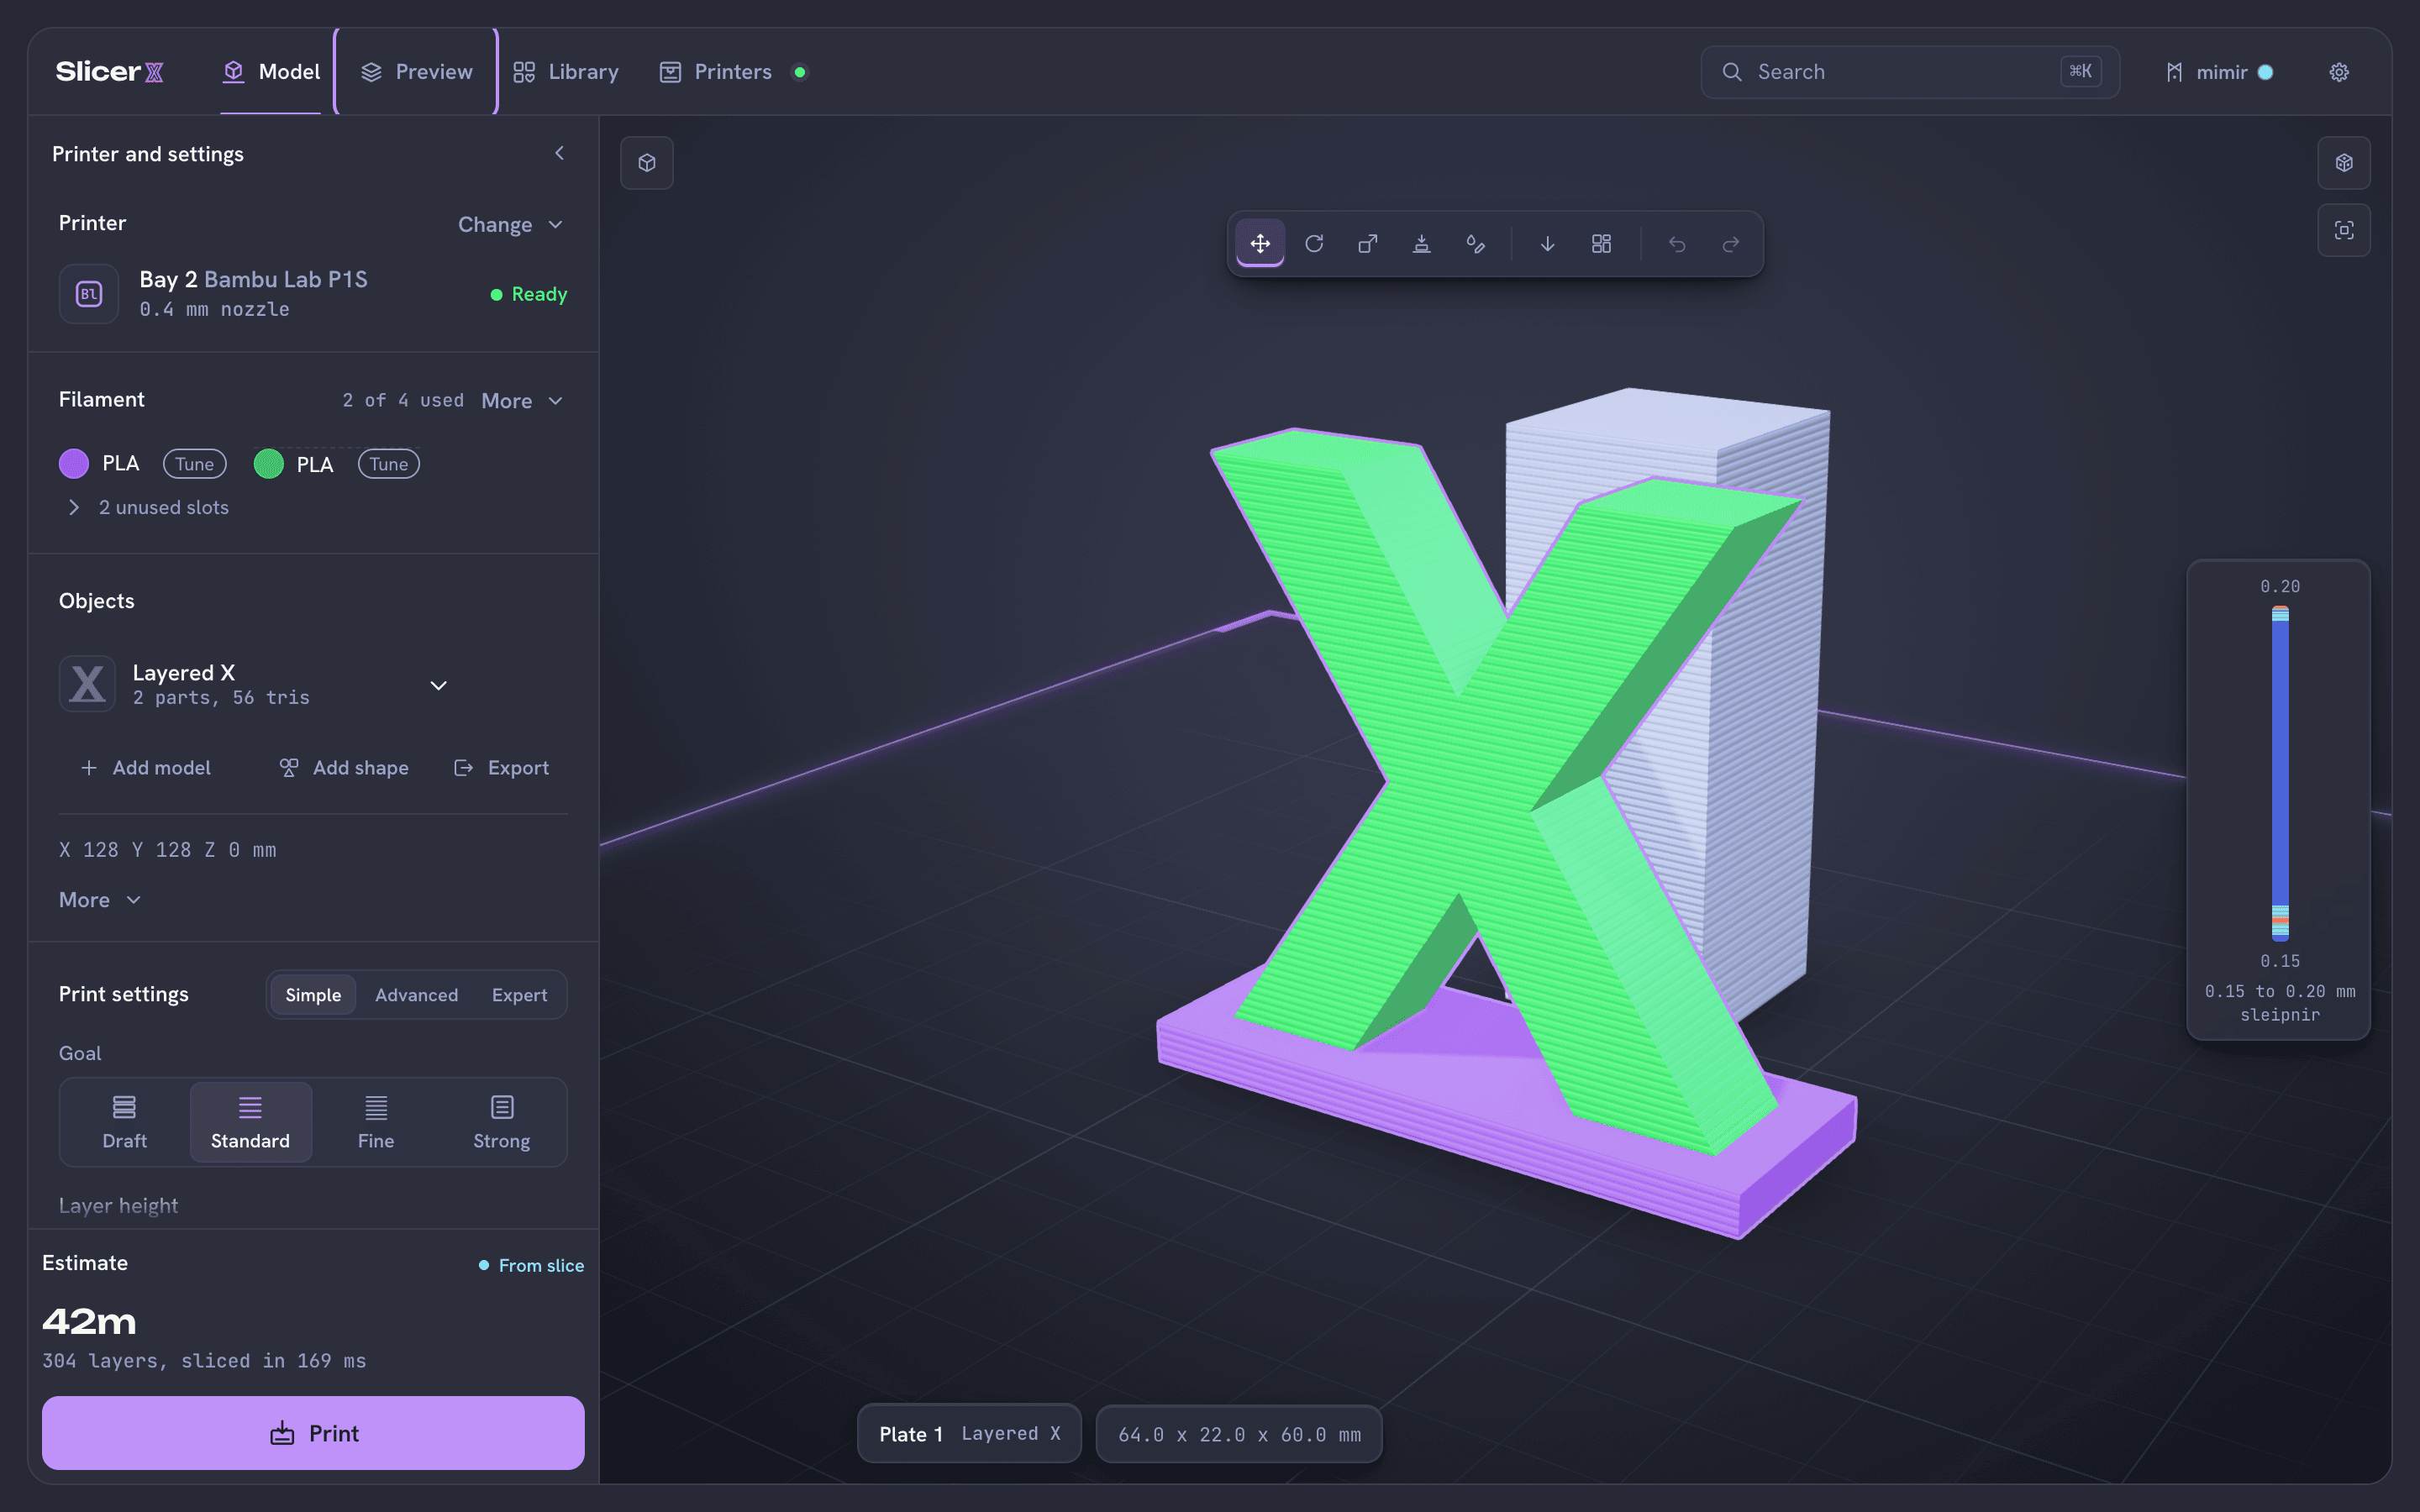
The slice keeps up with your changes. Preview shows it. Step through the layers.
Drag the handles on the layer bar to show a range of layers, or click a layer to jump to it. Pulling the top handle down shows the inside of the part: the walls, the infill and the supports. With a handle selected, the arrow keys move one layer and Page Up and Page Down move ten. Play the print (Space) draws each move in print order.
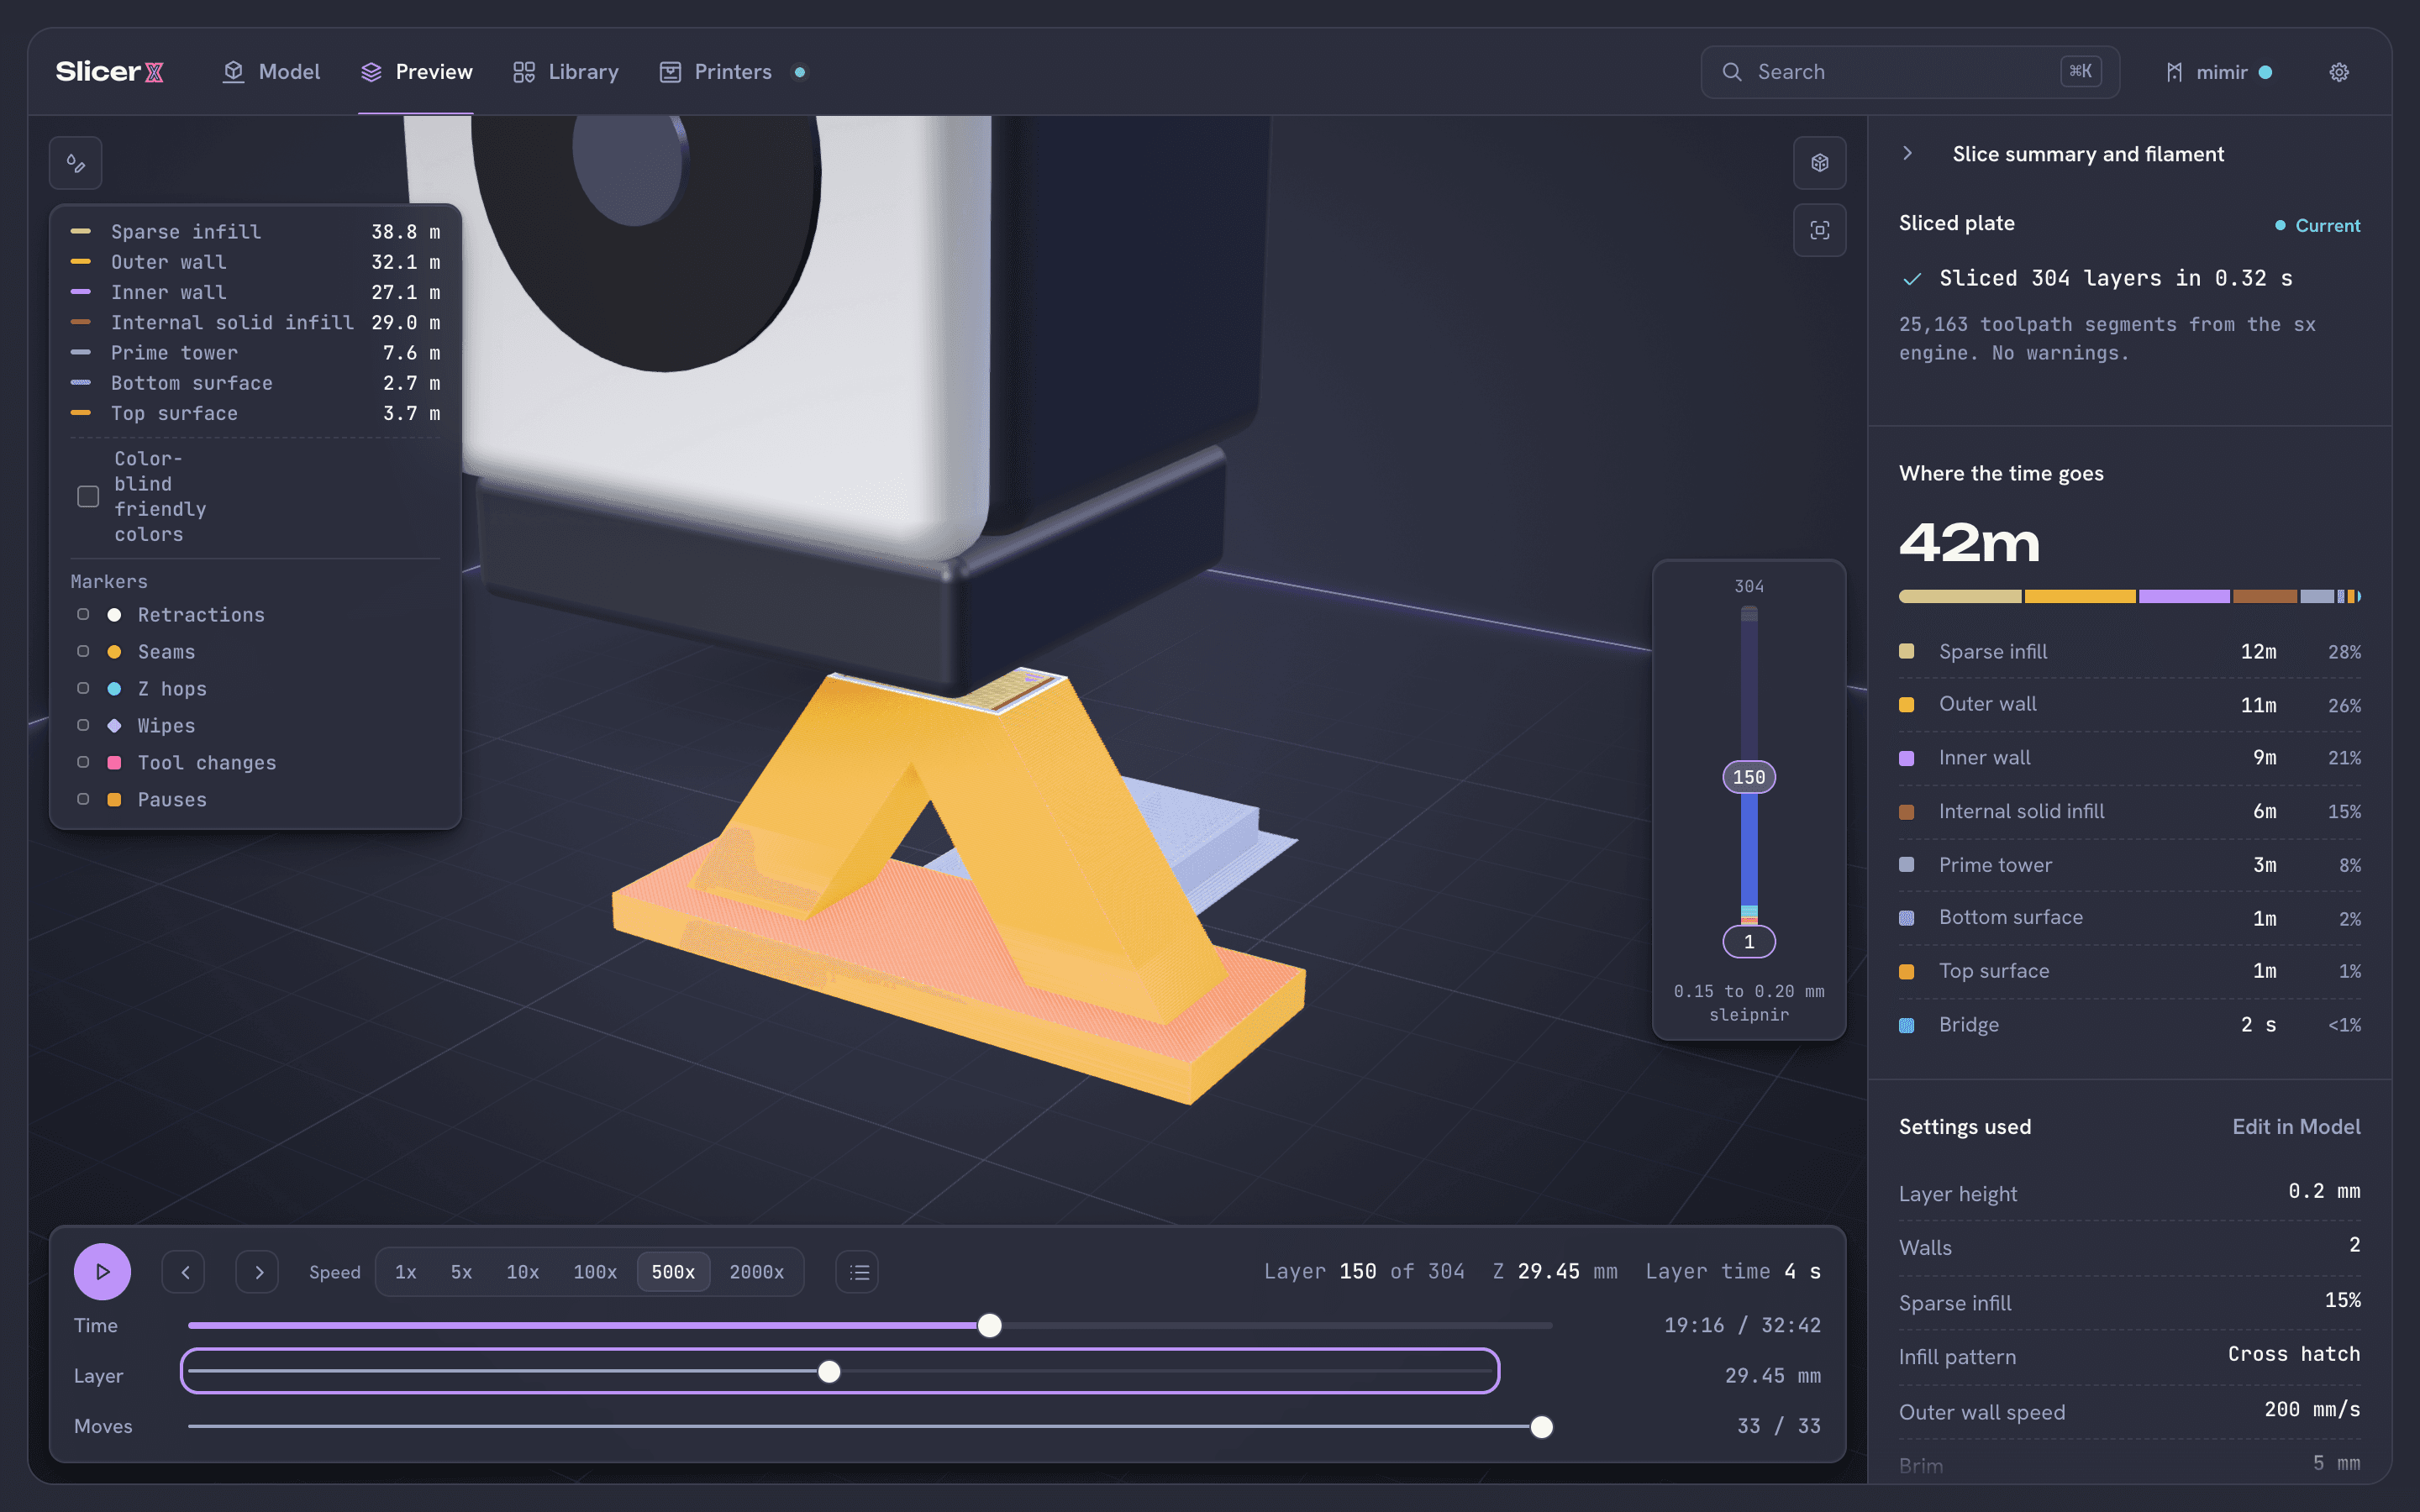
Partway down the layers, the infill inside shows. Color the paths.
The Toolpath colors menu colors them by Feature type, or under More views by Filament, Speed, Flow or Layer time. Feature type is the place to start: outer walls, inner walls, infill and supports each get their own color, listed in the legend. The legend's Color-blind friendly colors box switches to a palette that is easier to tell apart.
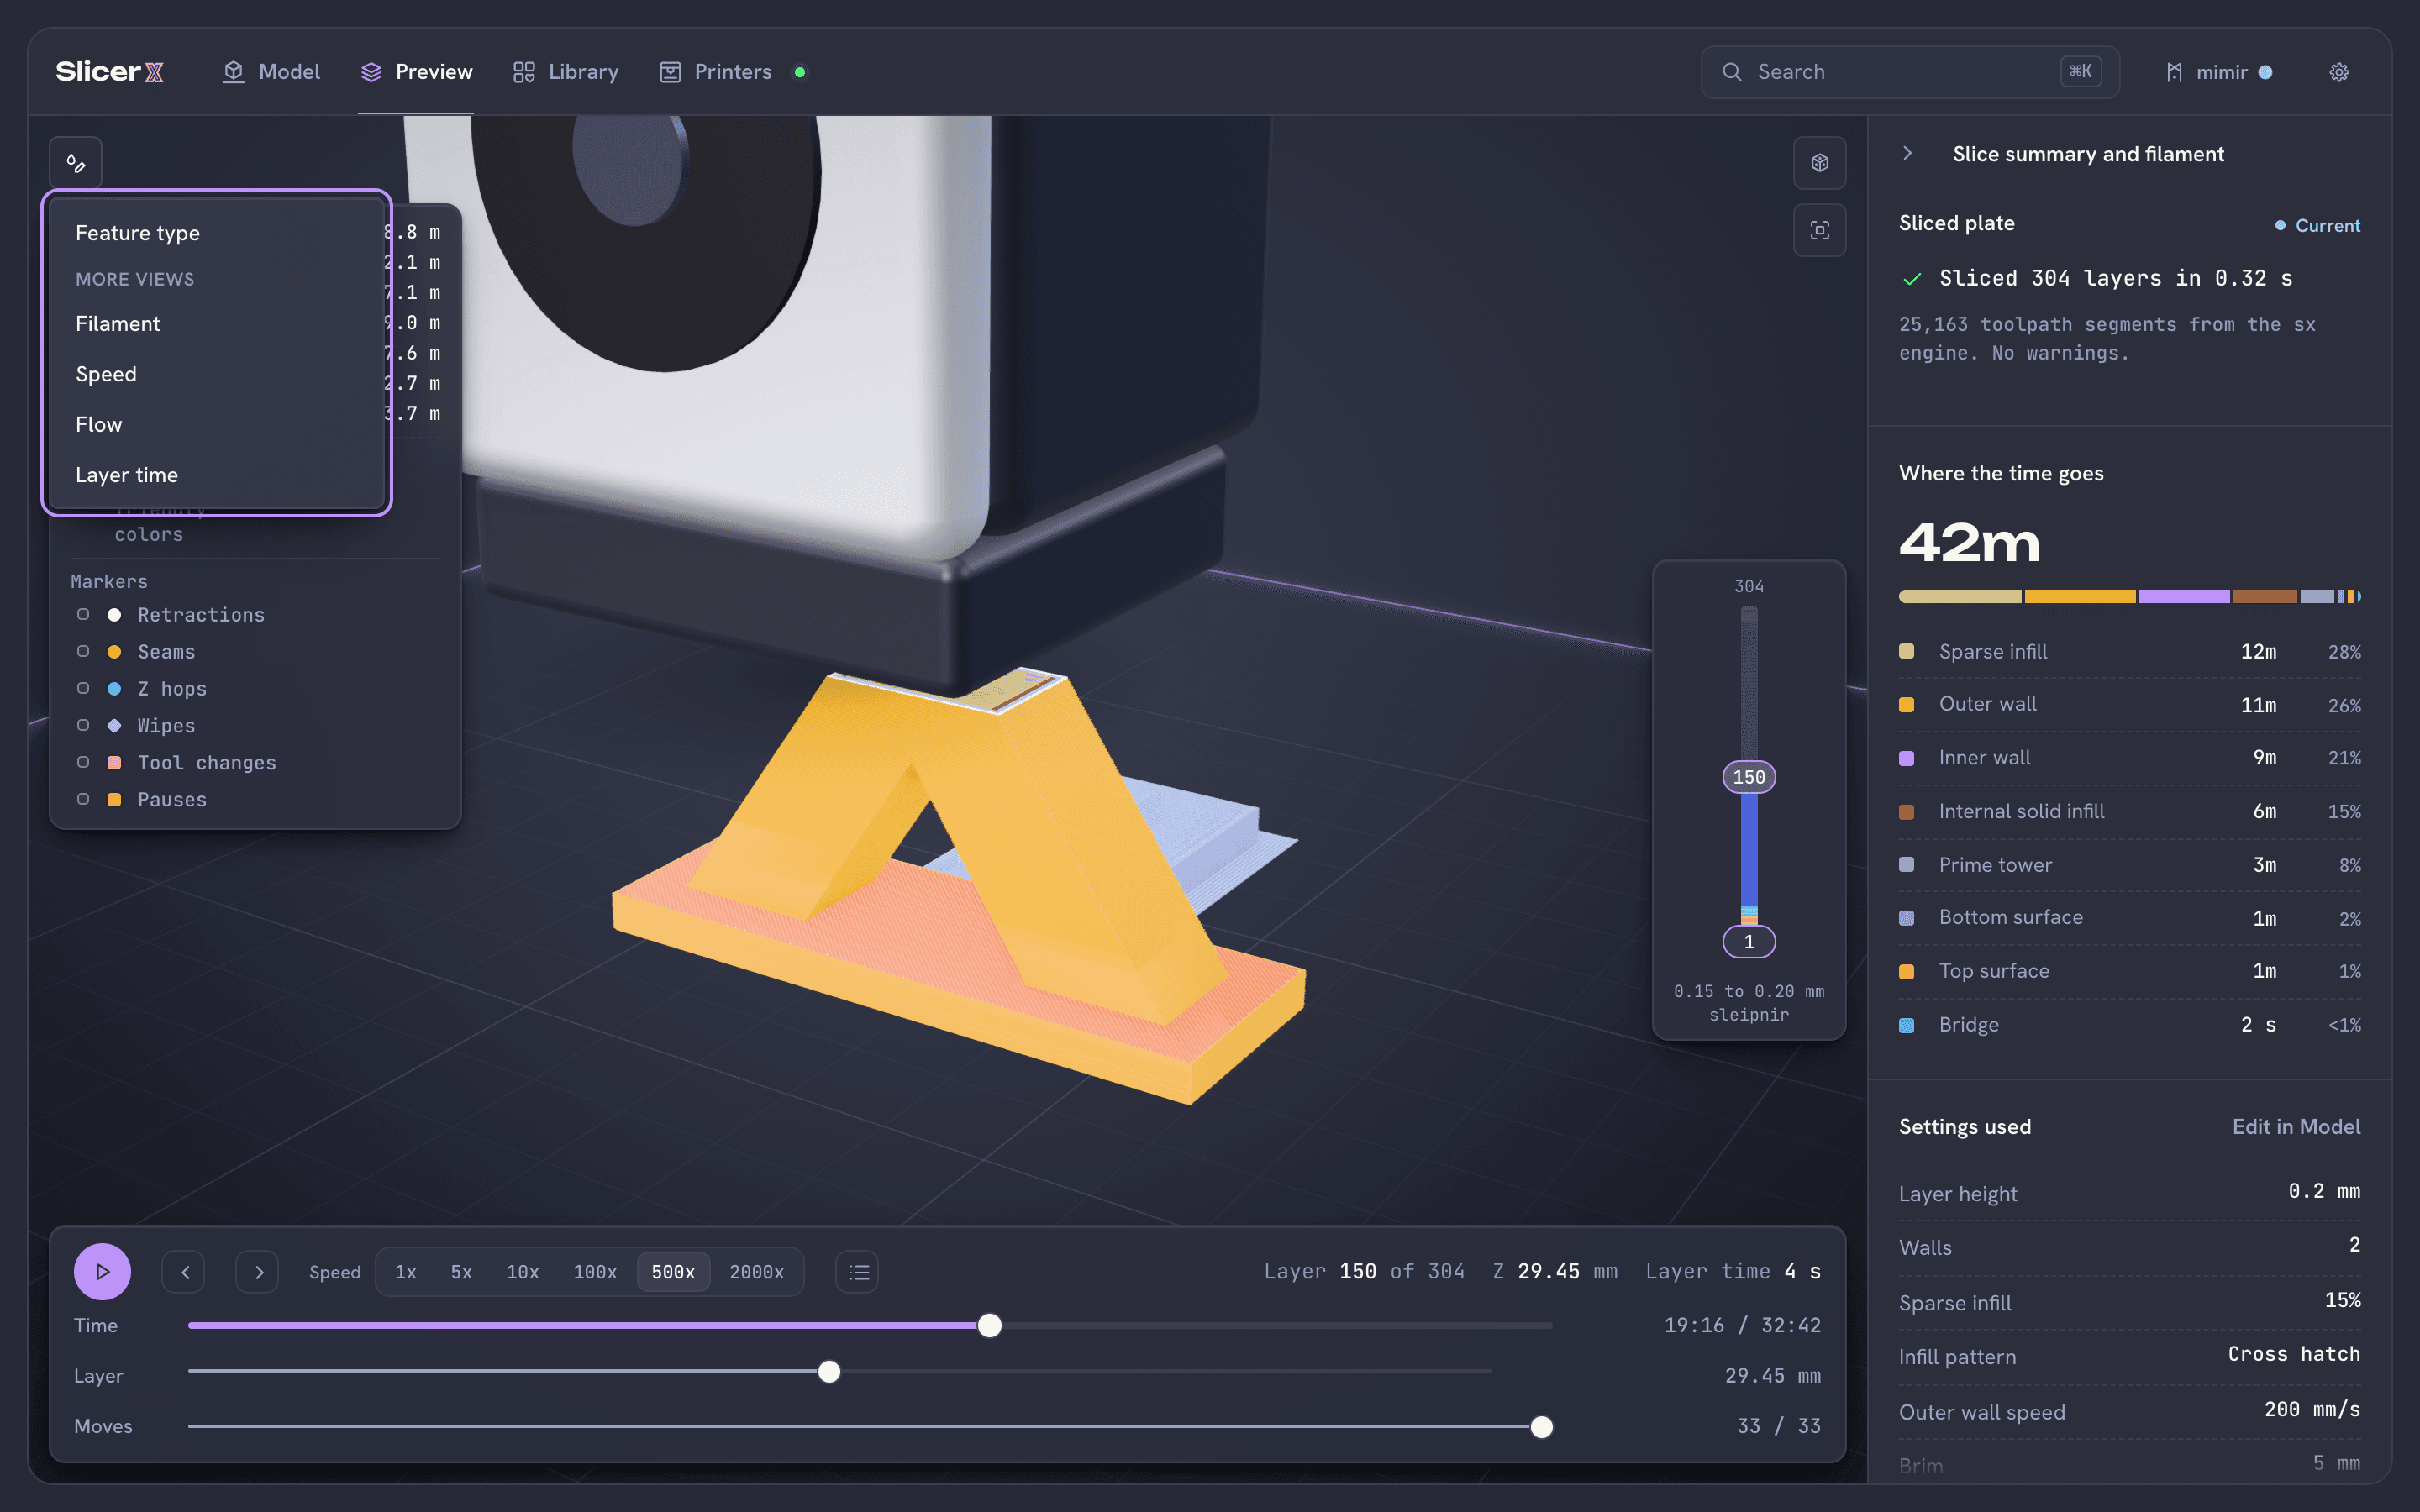
Feature type, Filament, Speed, Flow and Layer time. Read the totals.
The Slice summary and filament pane shows the print time and where it goes, the filament each slot uses, and totals for filament, cost, filament changes and layers. Warnings, if any, say what to check.
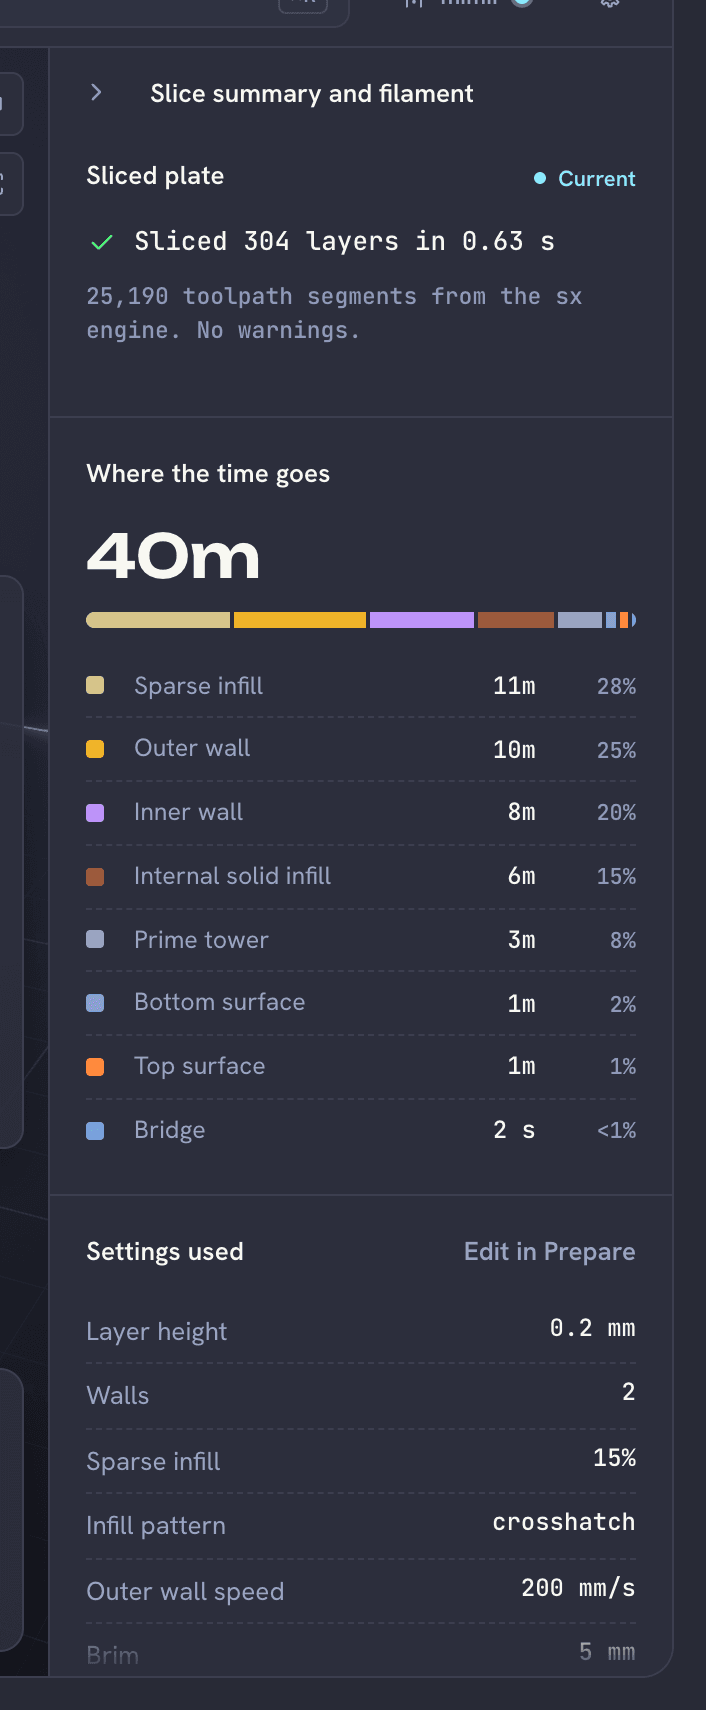
Time, filament and cost for the whole plate.
Fix a path with norn
norn lets you change a setting from the toolpath it made, right in Preview.
Click a path.
A card opens beside it with the settings that made that path, such as the speed of an outer wall, and the layer it is on. On a plate with several objects, Apply changes to picks that object or the Whole plate.
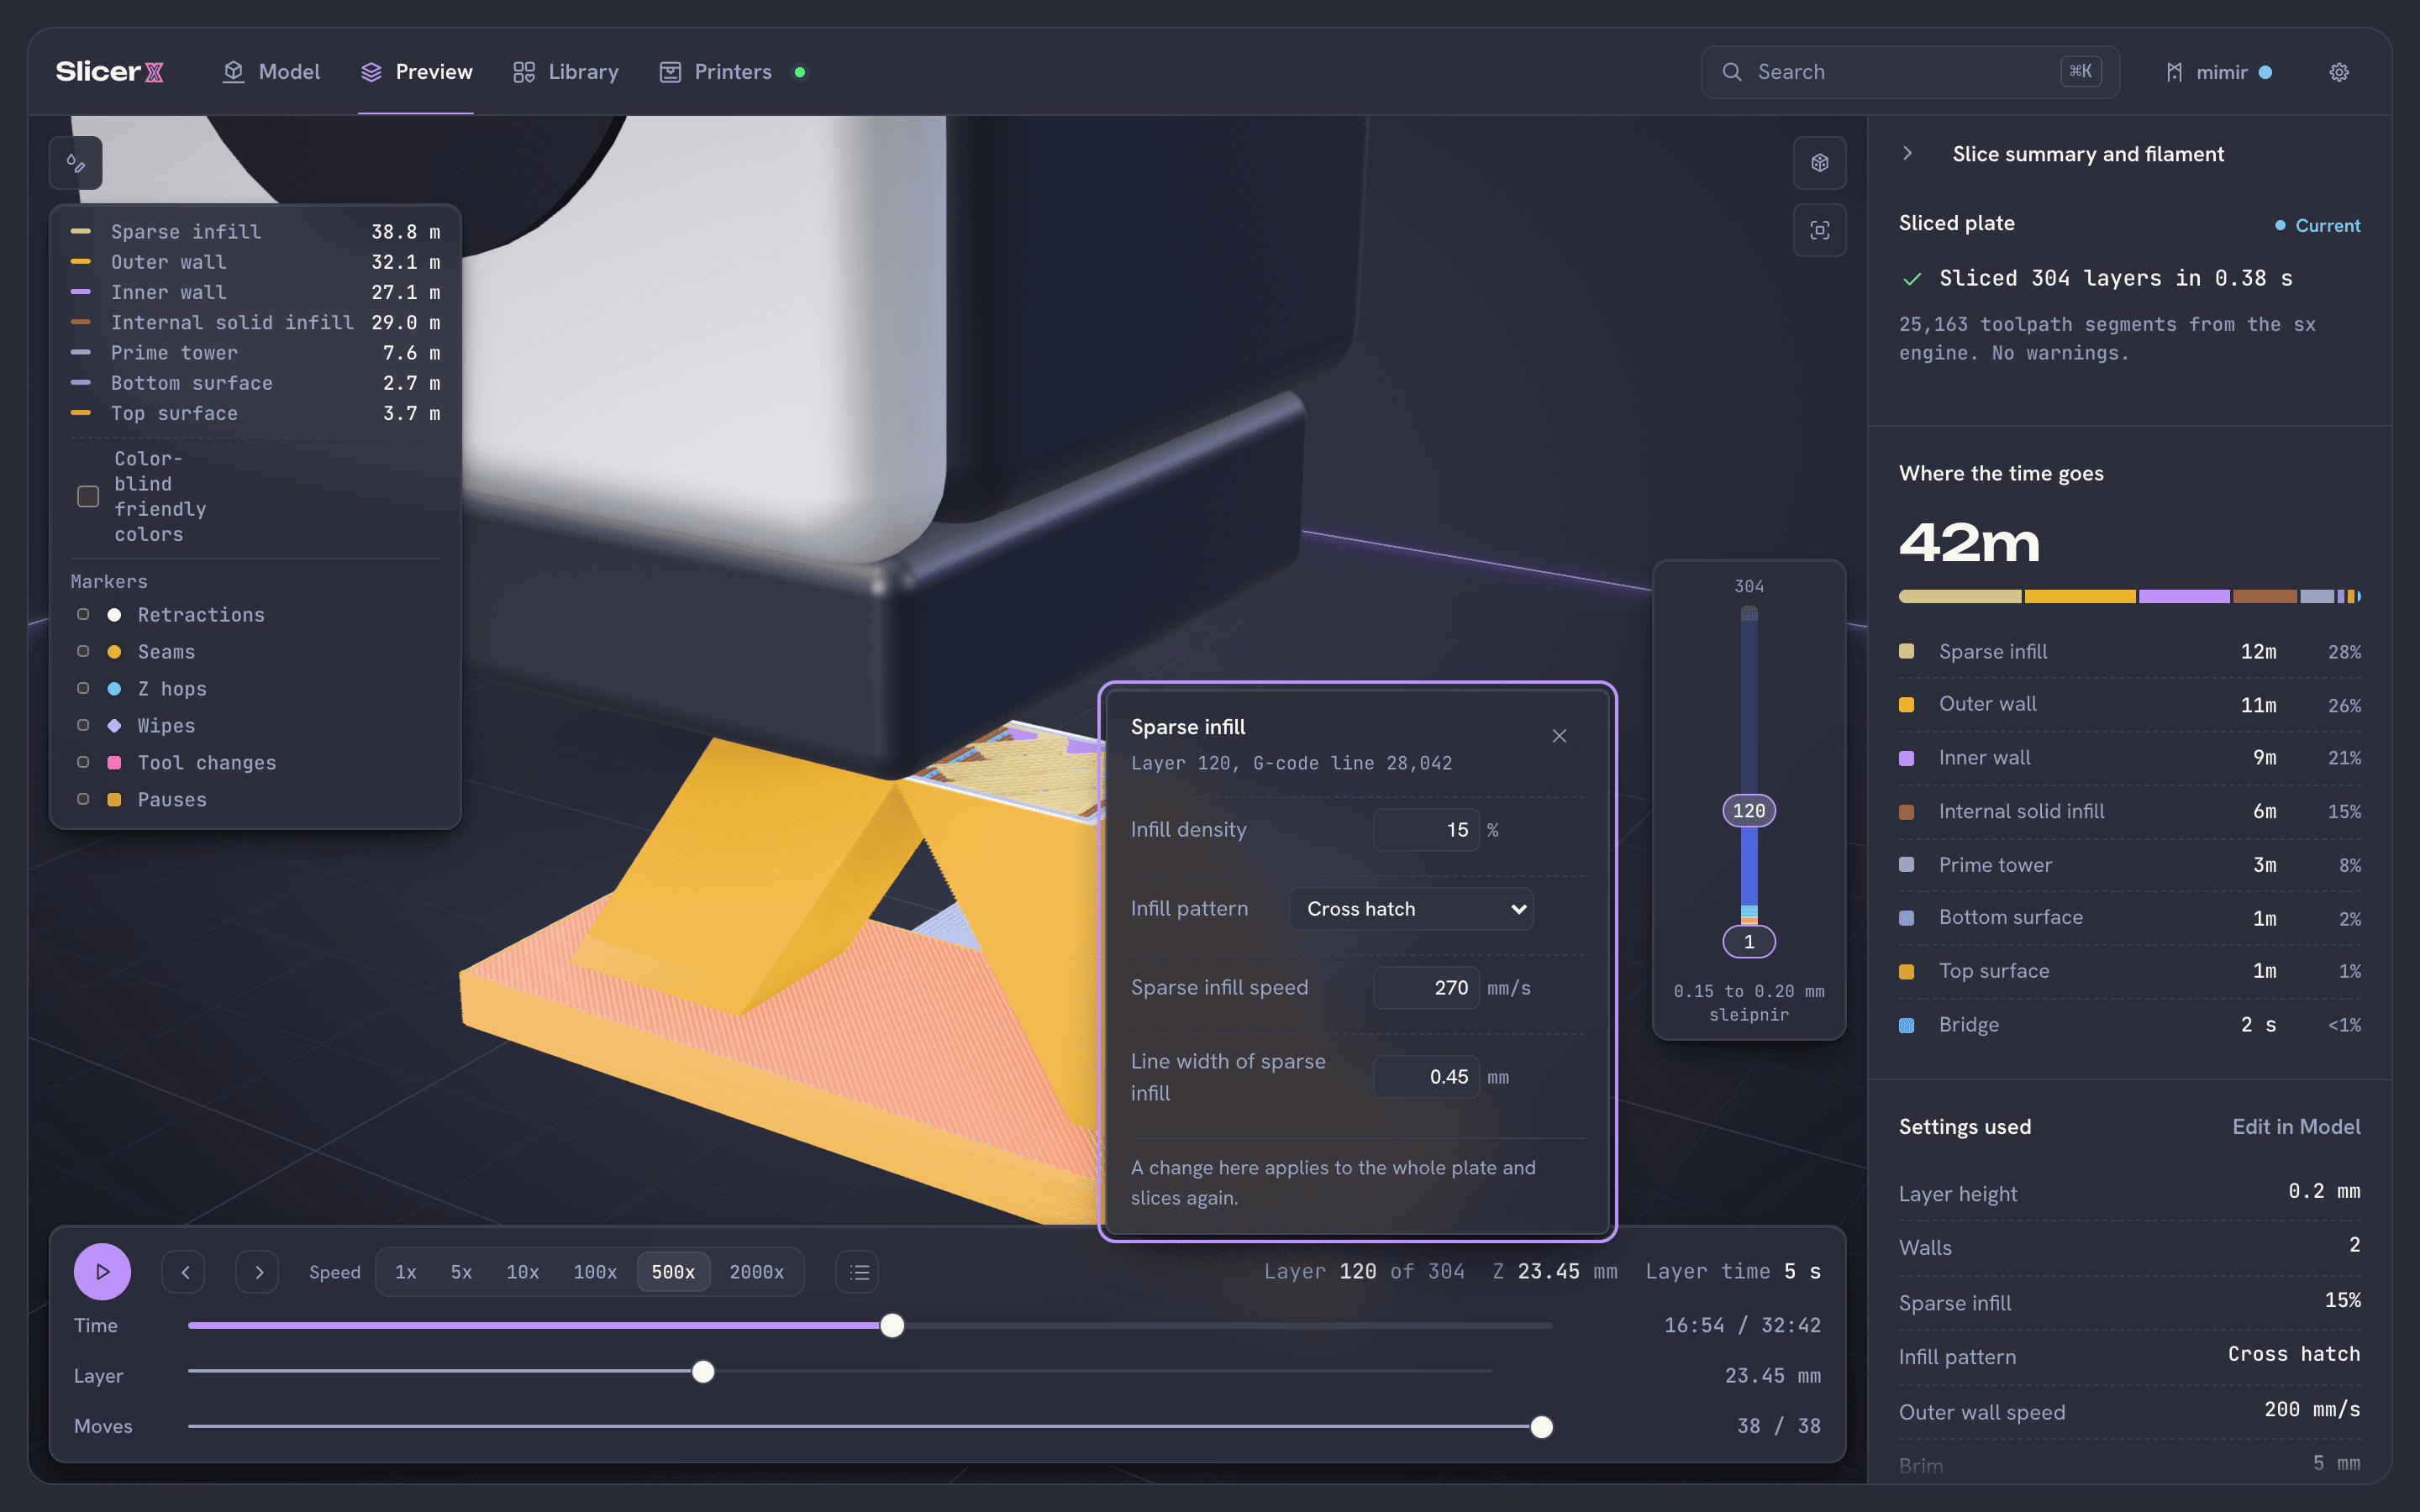
The card shows the settings behind the path you clicked. Change it and compare.
Change a value and SlicerX slices again. A bar at the top shows the new print time and filament and how much each changed, such as "4m less". Show the old paths draws the previous slice faintly under the new one.
Keep or undo.
Keep accepts the change. Undo change puts the settings back as they were.
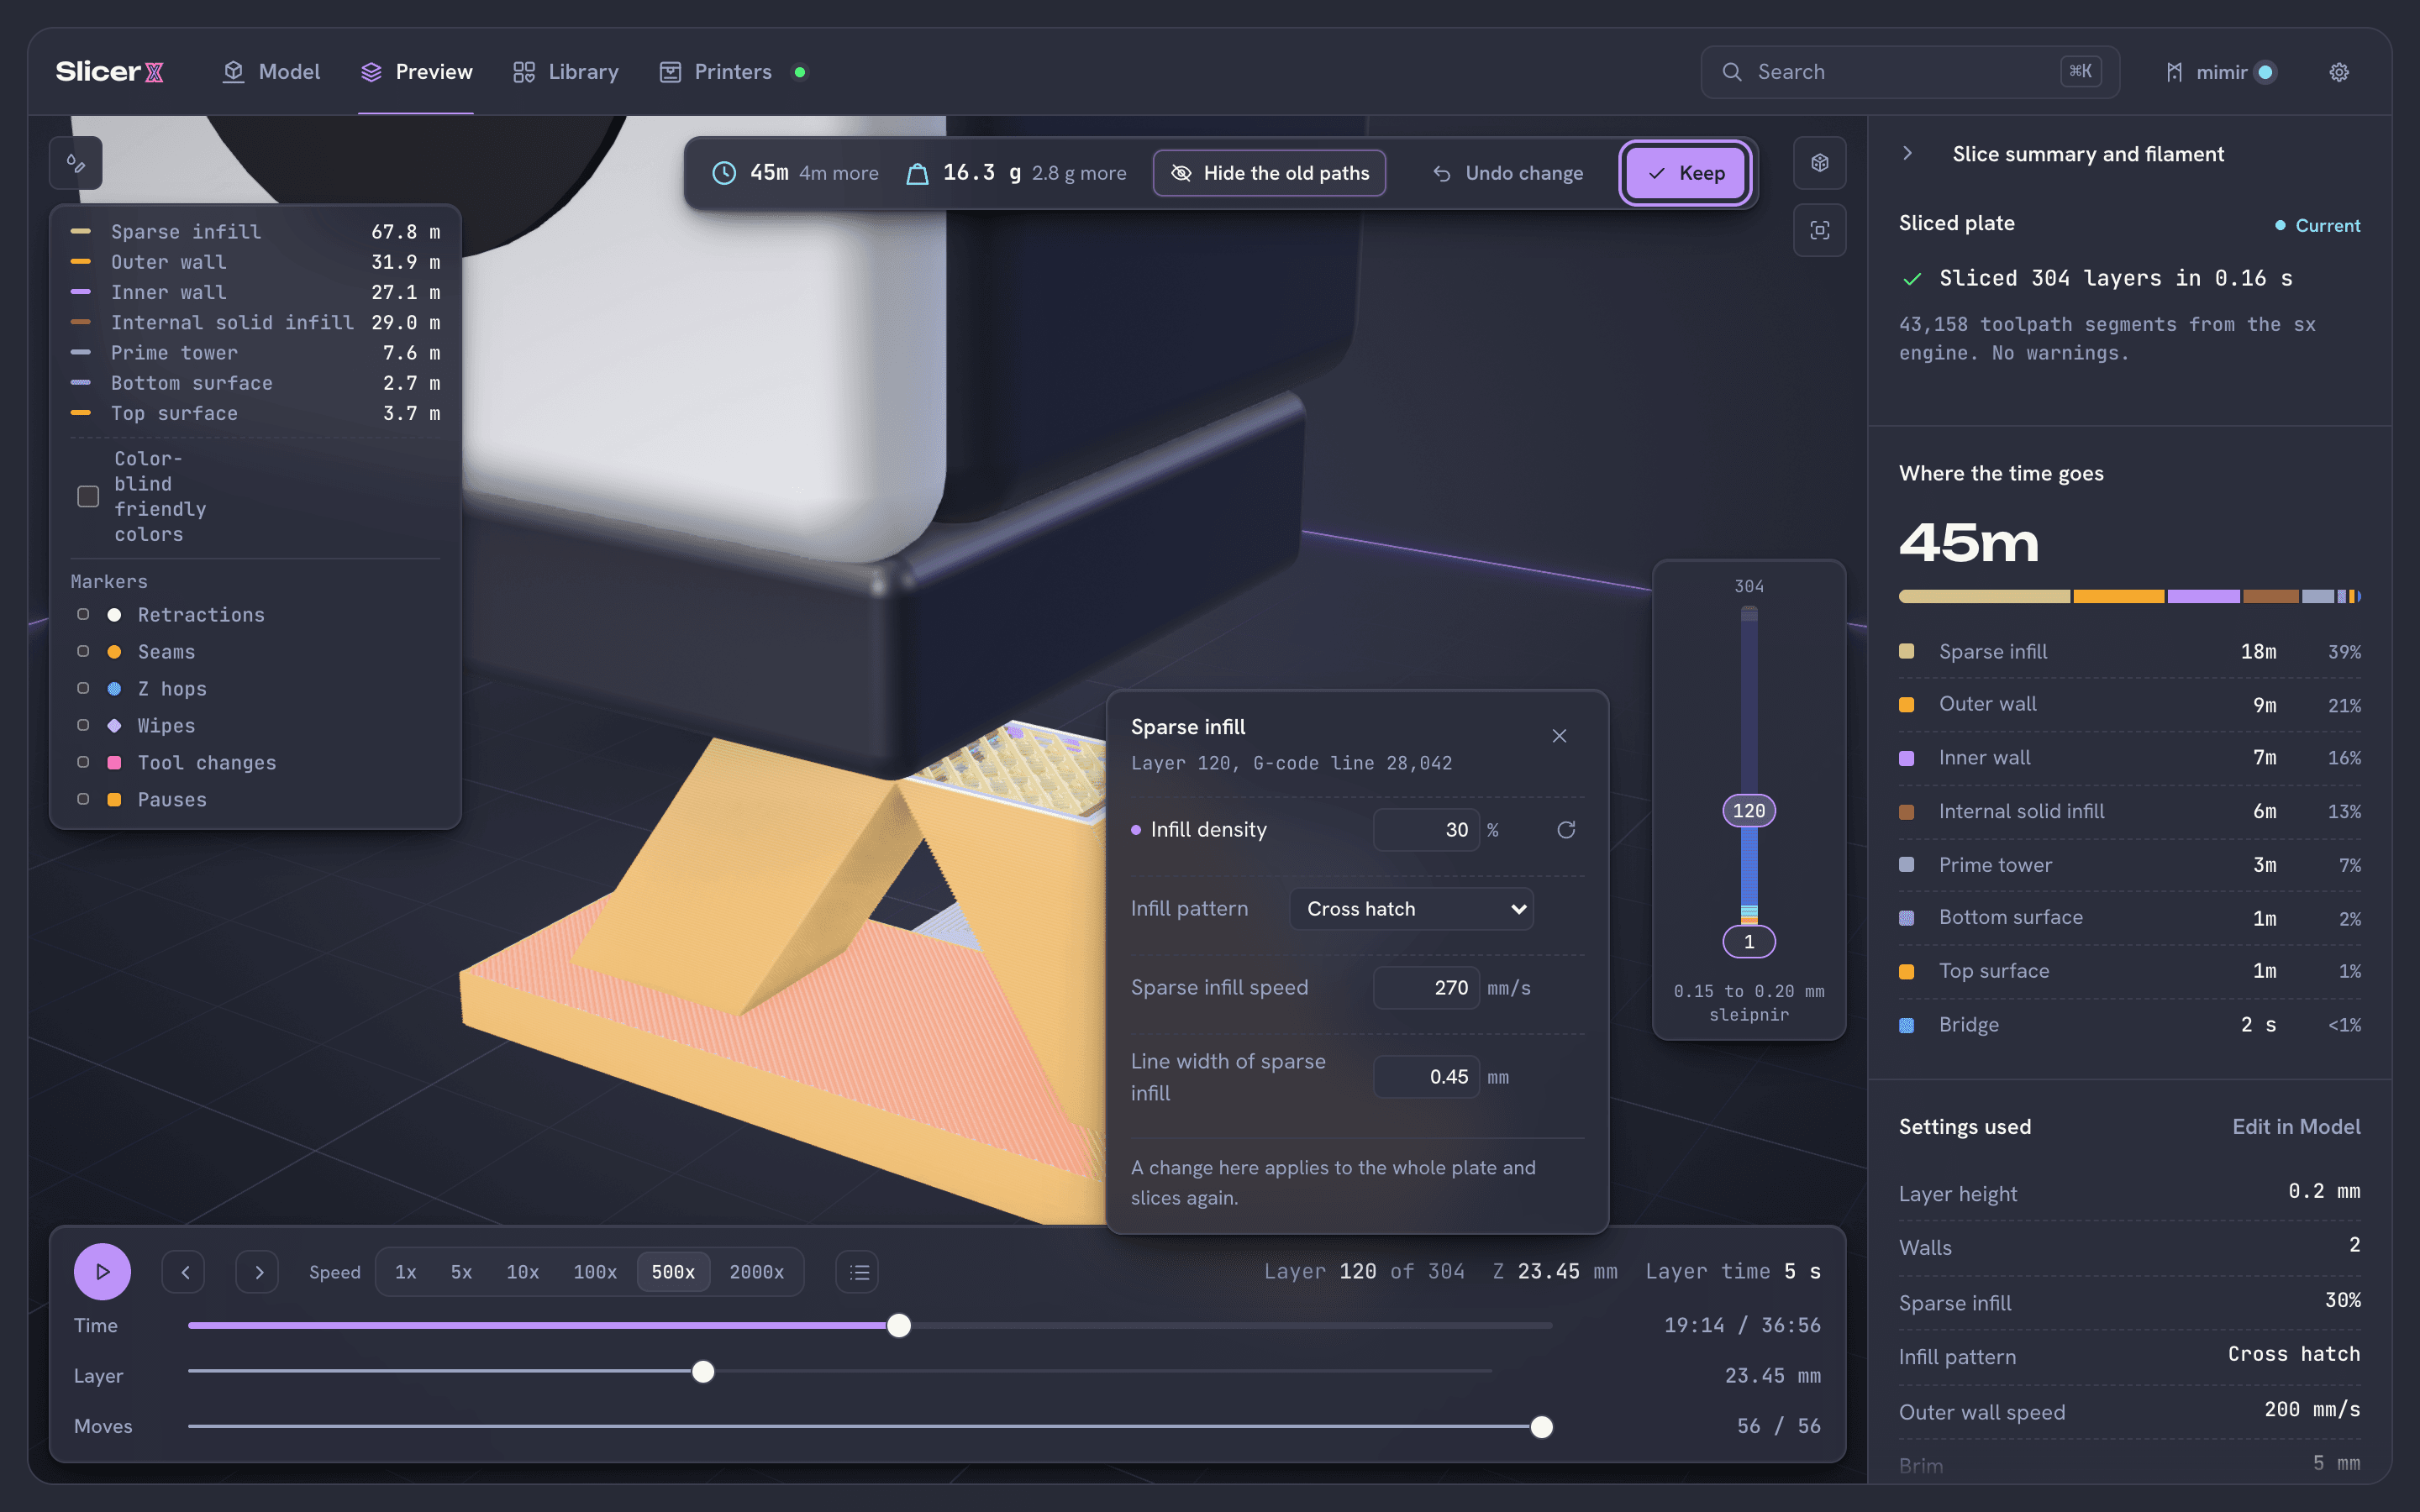
Keep the change, or undo it.
Next
When the layers look right: Print.